Three days ago, you made a remarkable decision – you purchased a Dash Cam that you're incredibly satisfied with. Now, imagine the delivery person solemnly handing over this gadget to you. Can you relate to the dilemma of facing a box full of accessories and cables, feeling utterly clueless? Did the thought of spending $100 on professional installation cross your mind? Well, if you're reading this article, congratulations! Not only did you save $100 on installation fees, but you're also on your way to becoming an experienced DIY installation pro.
Video install guide:
Let's familiarize ourselves with the tools and accessories needed for this process before diving into the installation, making it a breeze for you.
Essential Tools:
-
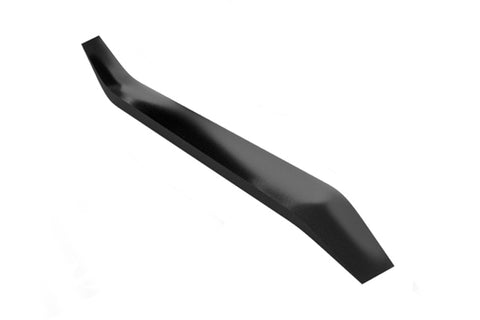
Pry Bar – Your go-to tool for effortlessly tucking cables into your car's interior panel during wiring.
-
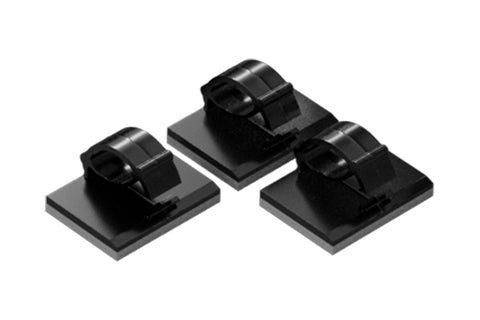
Cable Clips – Handy for securing cables in tricky spots during the wiring process, like the top of the front windshield where there's a gap between the windshield and the roof cover. This is the best place to discreetly hide wires, but if the gap is too large, cable clips come to the rescue.
Additional Accessories:
-
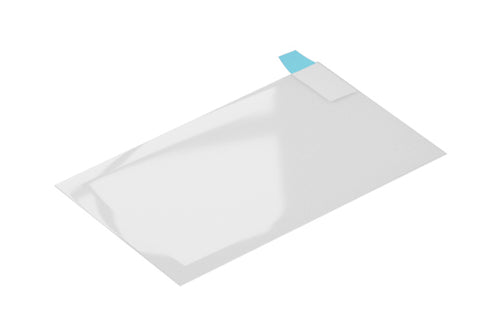
Static Sticker – Some Dash Cams use 3M glue sticker mounts, and the static sticker protects your windshield from the threats of 3M glue, especially if you ever need to remove it.
Now that we're acquainted with these tools and accessories, let's get hands-on with the actual installation process!
Step 1: Pre-Installation Check
Before diving into the installation, ensure your Dash Cam is in good working order. Let's prevent the hassle of discovering issues post-installation, which would require removing it for a refund.
-
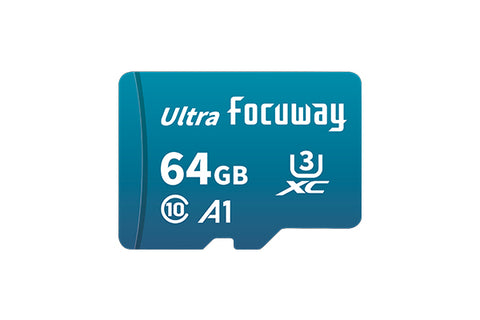
If your Dash Cam didn't come with an inserted SD card, don't forget to insert one into the memory card slot.
-
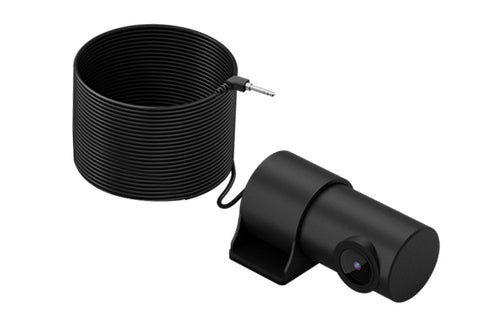
Locate the rear camera and plug it into the corresponding port on the Dash Cam.
-
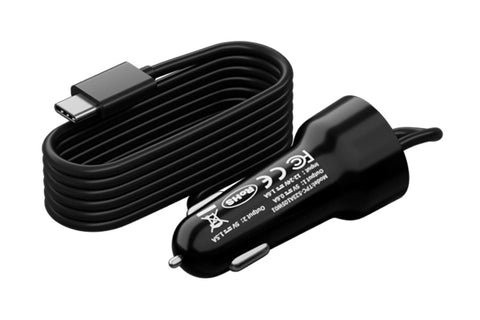
Prepare the car charger, insert it into the cigarette lighter to power the Dash Cam.
-
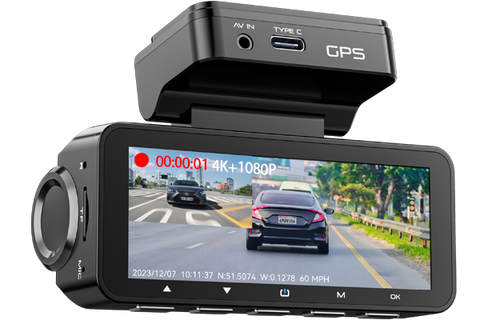
Check if the Dash Cam starts up and begins recording automatically. Note that Dash Cams without screens will voice prompt "Recording Start," while those with screens will illuminate the screen, typically with a blinking dot in the top left corner indicating recording.
-
Ensure the rear camera's image appears correctly.
Step 2: Front Camera Installation
Front camera wiring route:
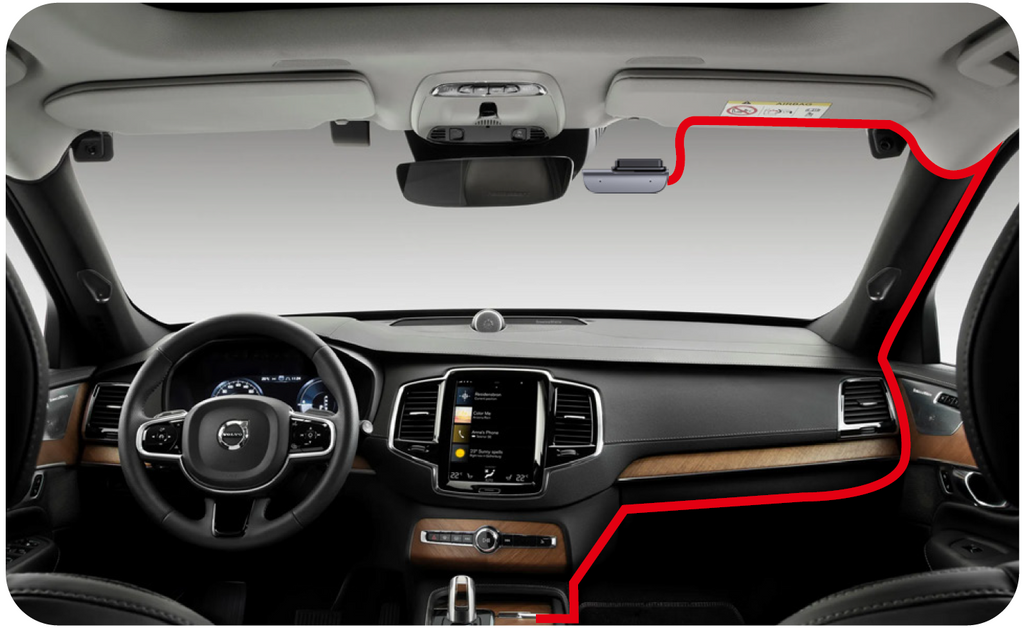
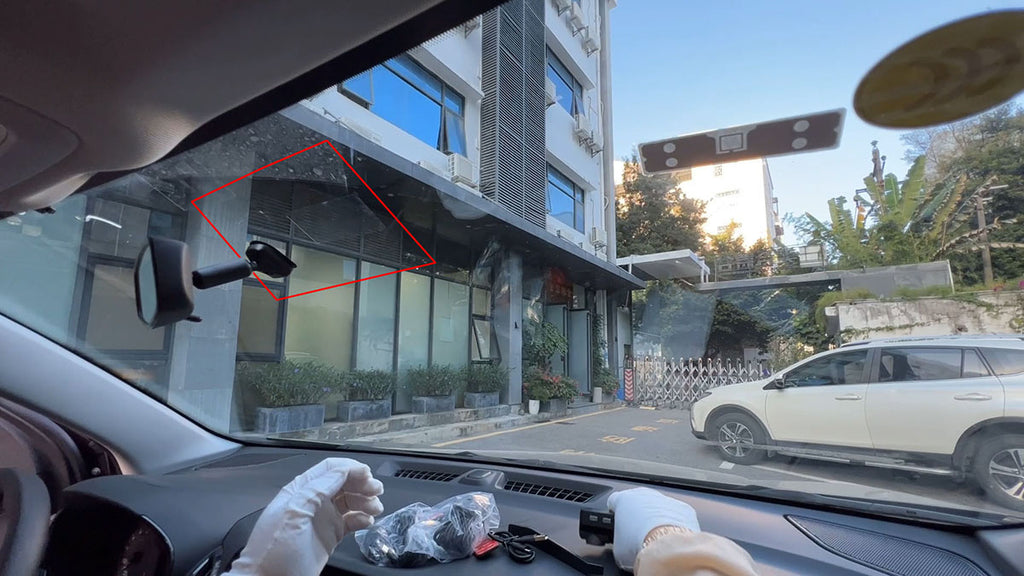
Now, focus on the front windshield, choosing a suitable spot to affix the Dash Cam's main unit. For a better view, it's recommended to install the Dash Cam in the area just below the rearview mirror. Pro tip: If it's a screen-less Dash Cam, you can hide it behind the rearview mirror.
-
Use the accessory "Static Sticker" and affix it to the installation spot.
-
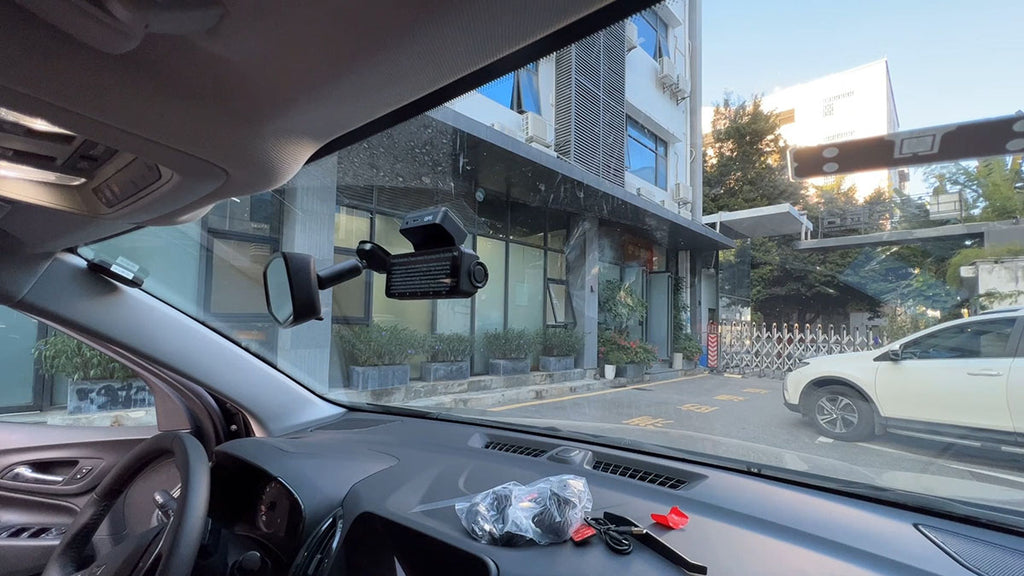
Next, stick the Dash Cam onto the static sticker. If it's suction cup mounted, you can directly attach it to the suitable location.
-
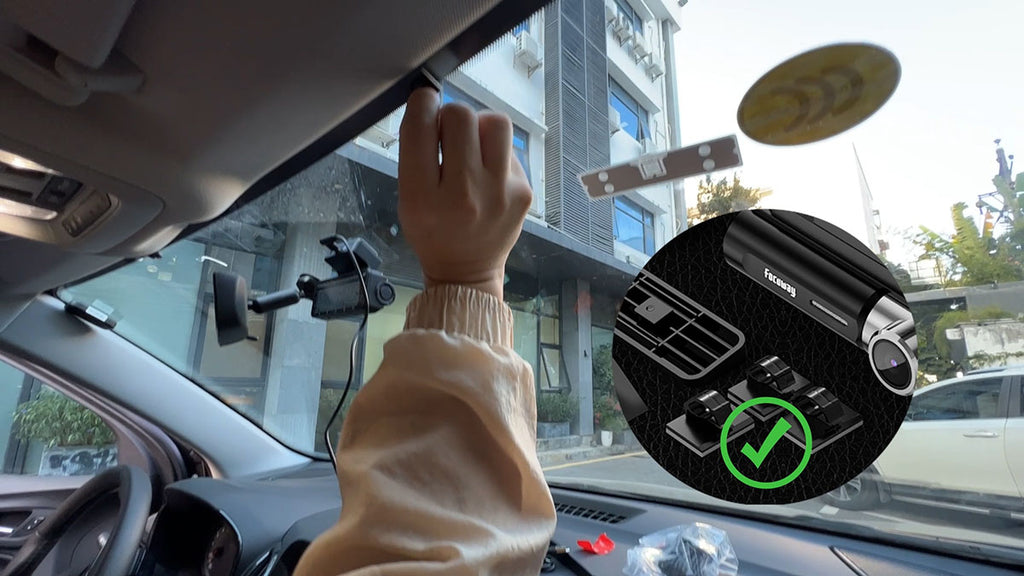
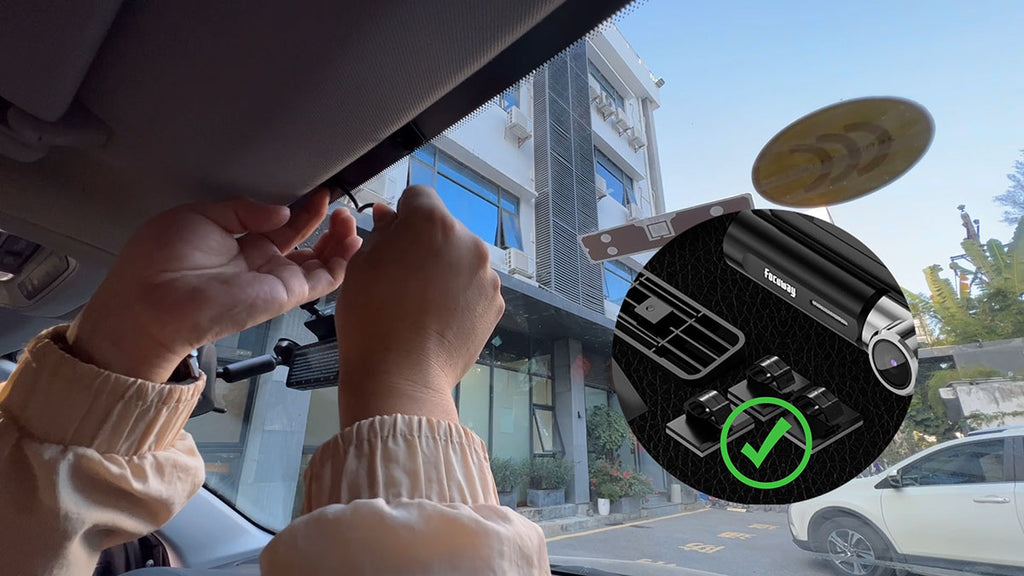
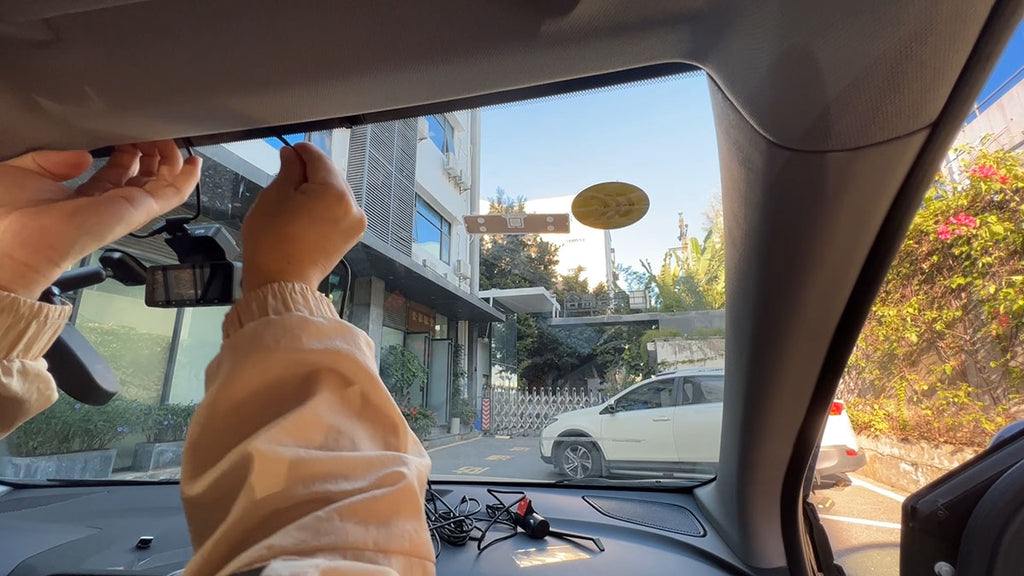
Find the car charger, plug its head into the Dash Cam, and cleverly hide the cable in the gap between the front windshield and the roof cover. You can use cable clips for stability.
-
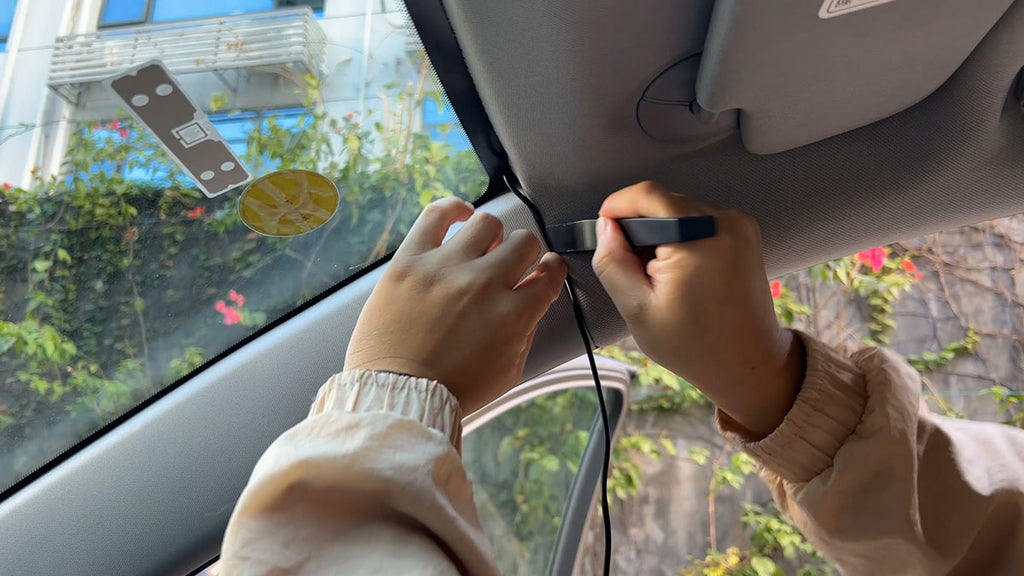
Use the pry bar to open the side pillar plastic cover and tuck the cable inside.
-
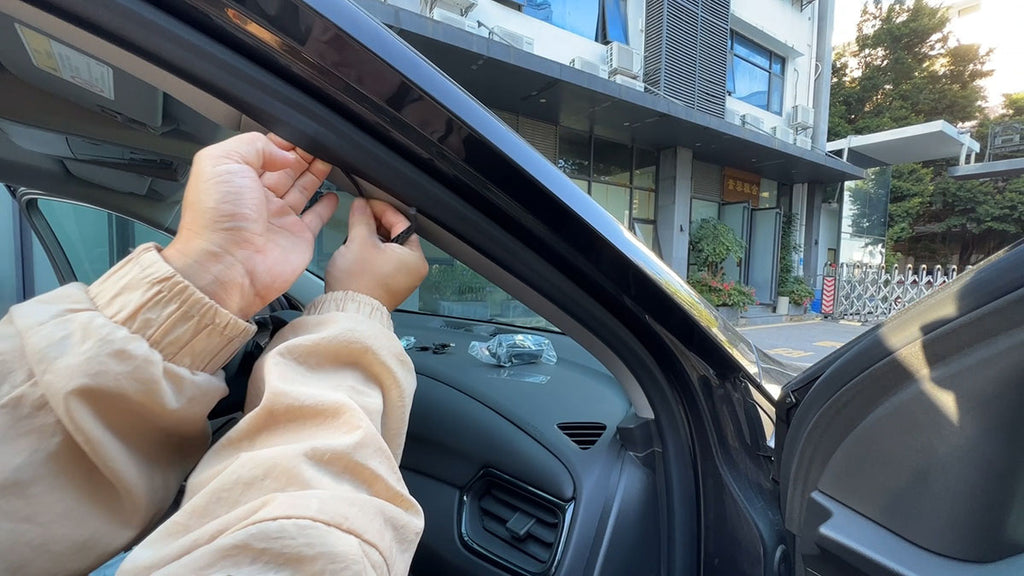
Conceal the cable inside the waterproof rubber strip.
-
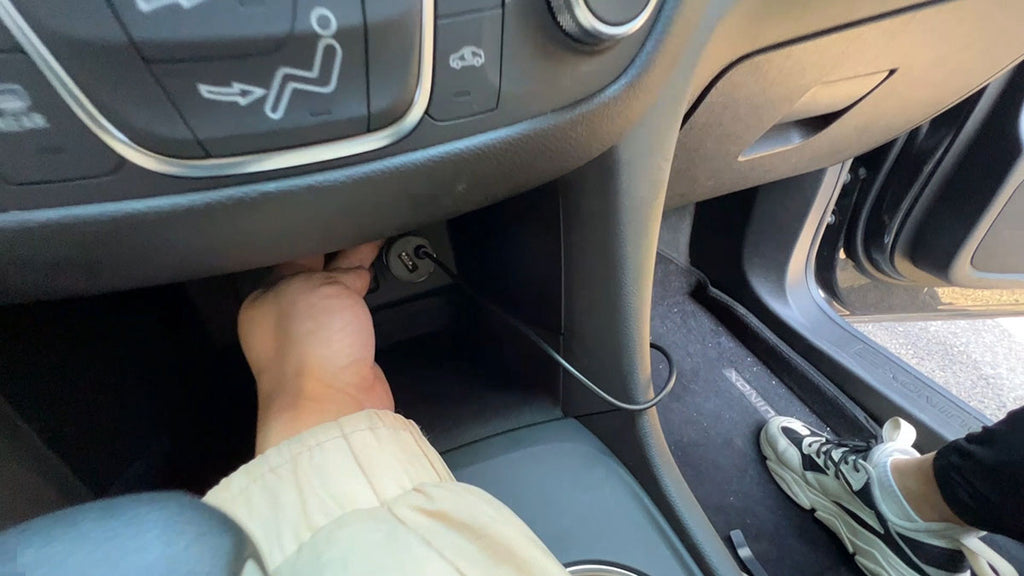
Locate your car's cigarette lighter, route the cable to that location, and plug the car charger in. Hide any excess cable.
Step 3: Rear Camera Installation
Rear camera wiring route:
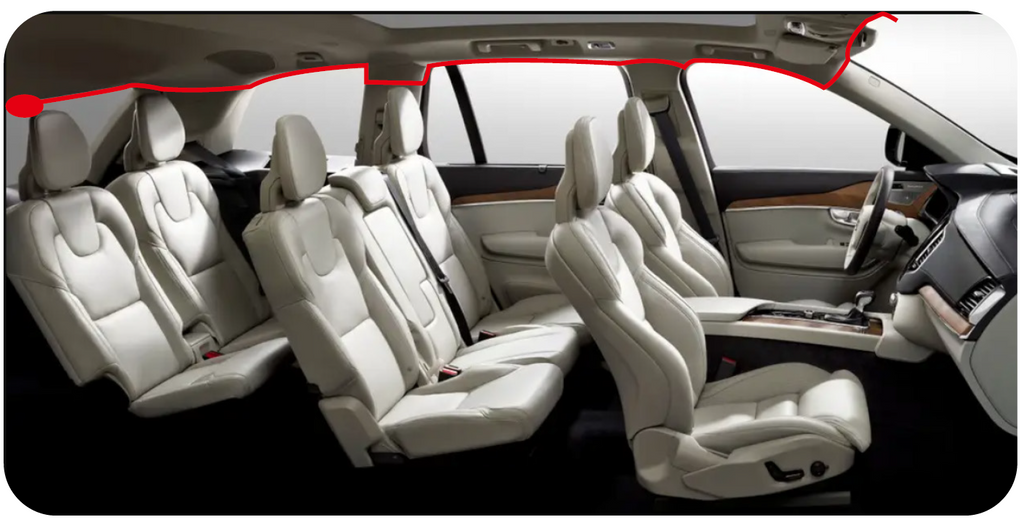
Now, let's handle the rear camera. Plug it into the Dash Cam and similarly conceal the cable.
-
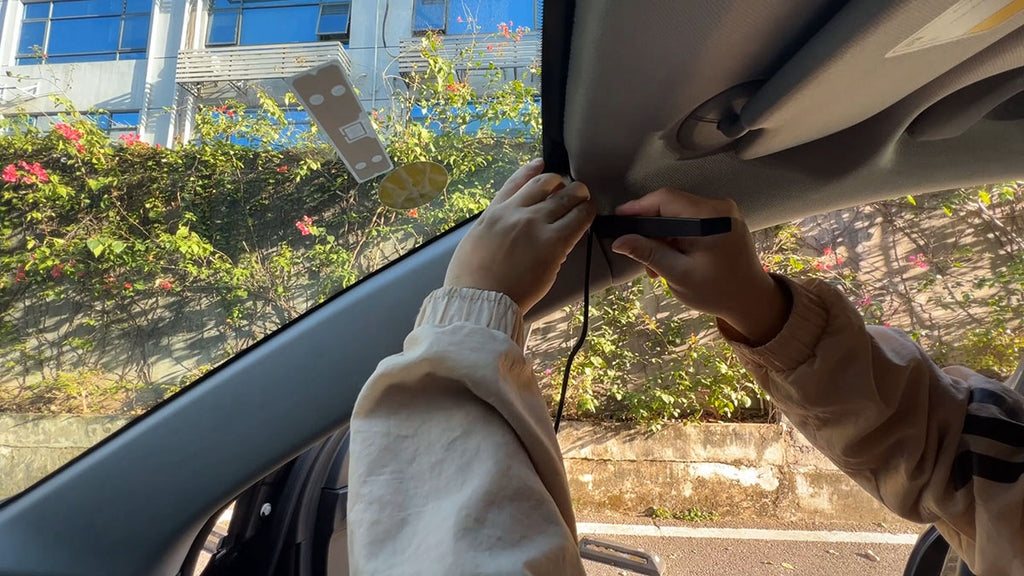
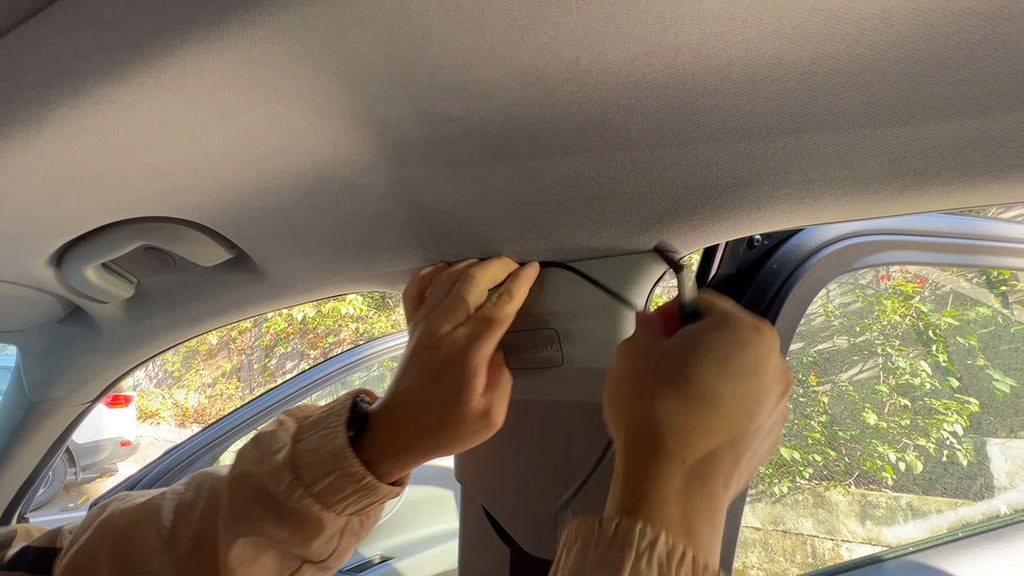
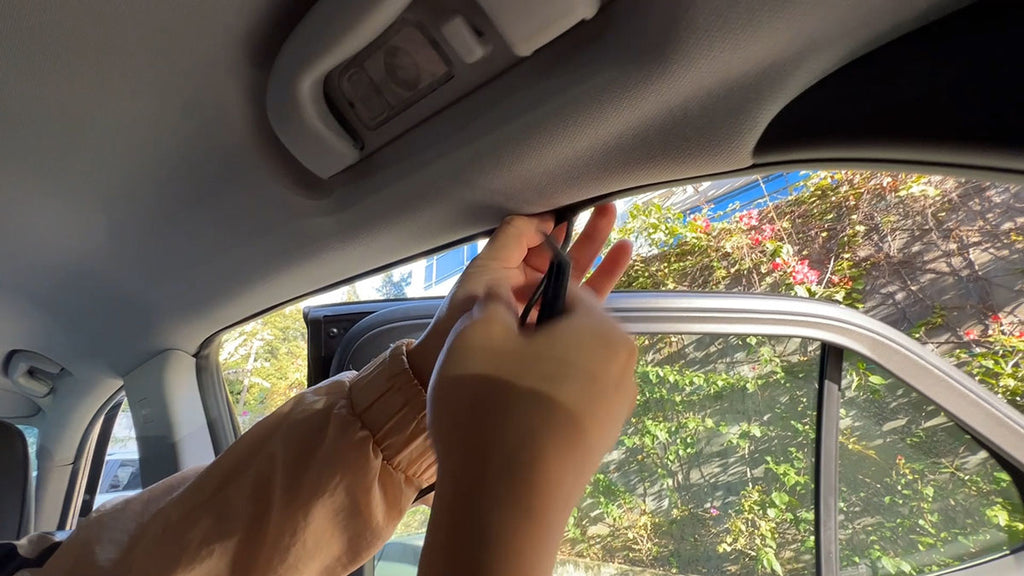
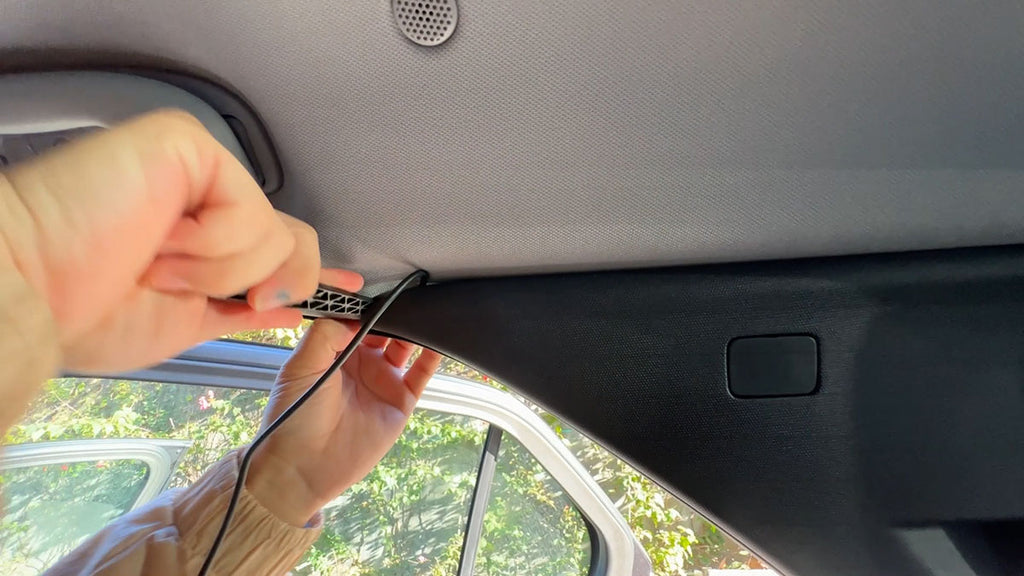
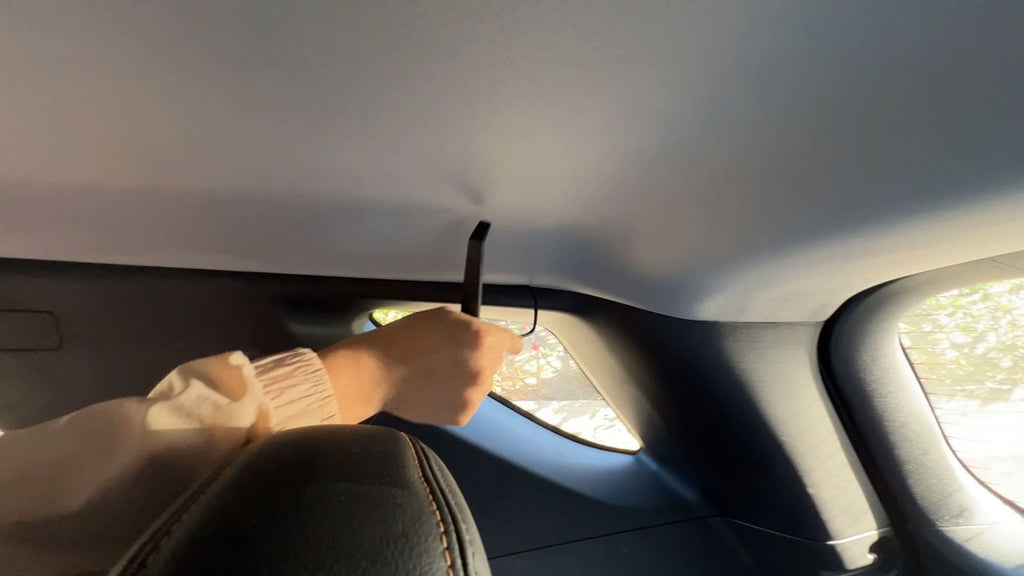
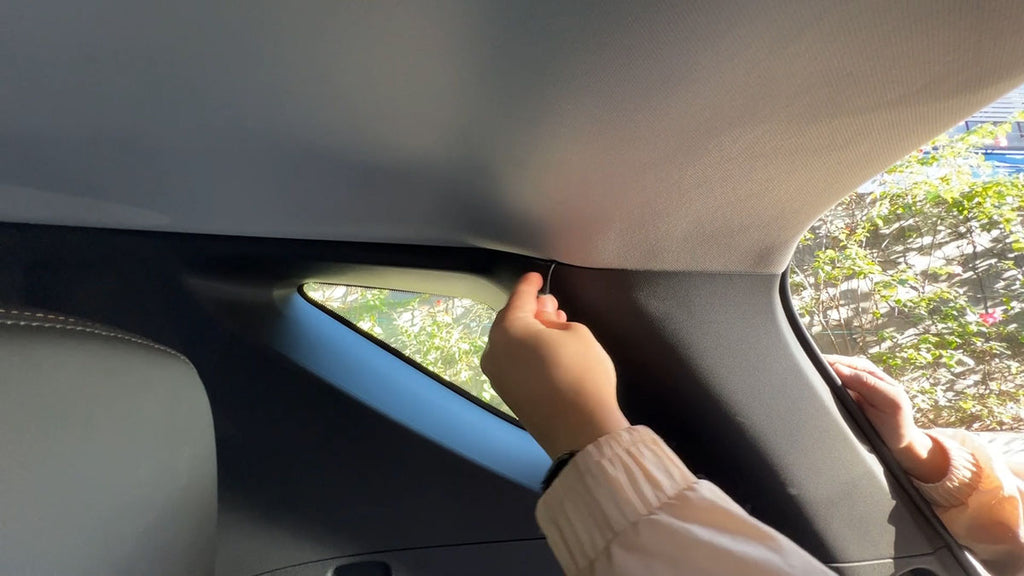
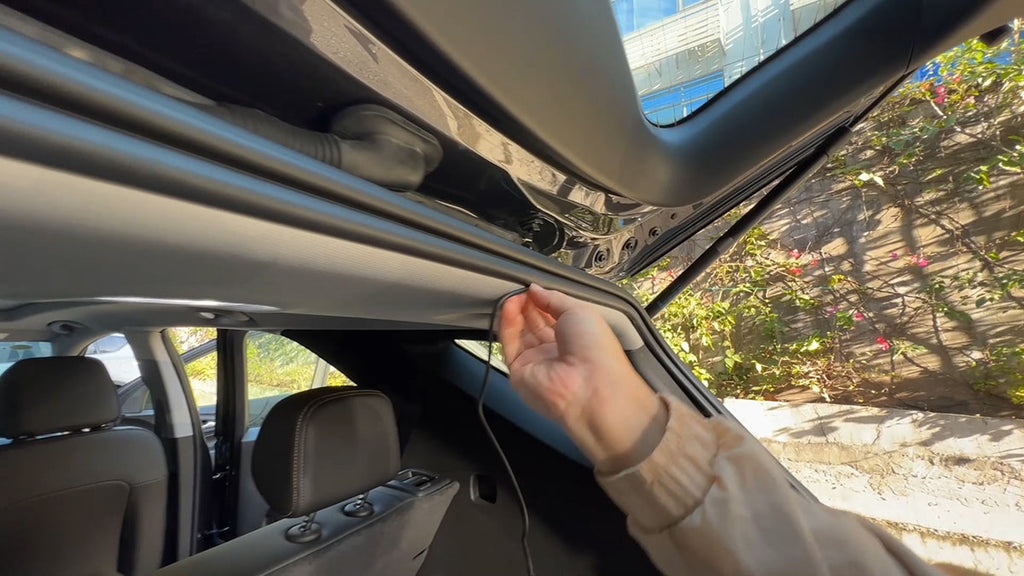
Hide the cable in the gap between the front windshield and the roof cover. Follow the wiring route as shown in the diagram.
-
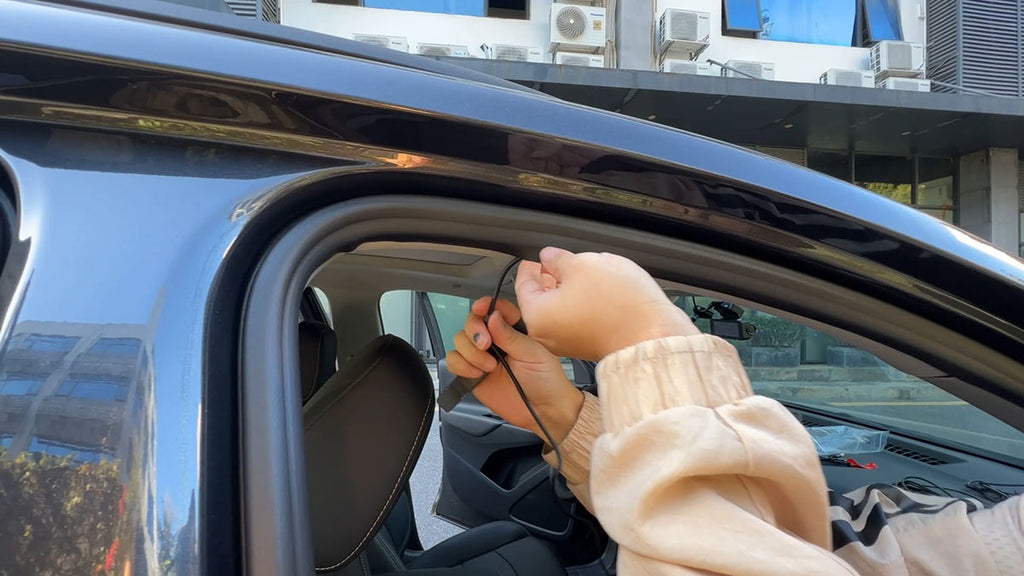
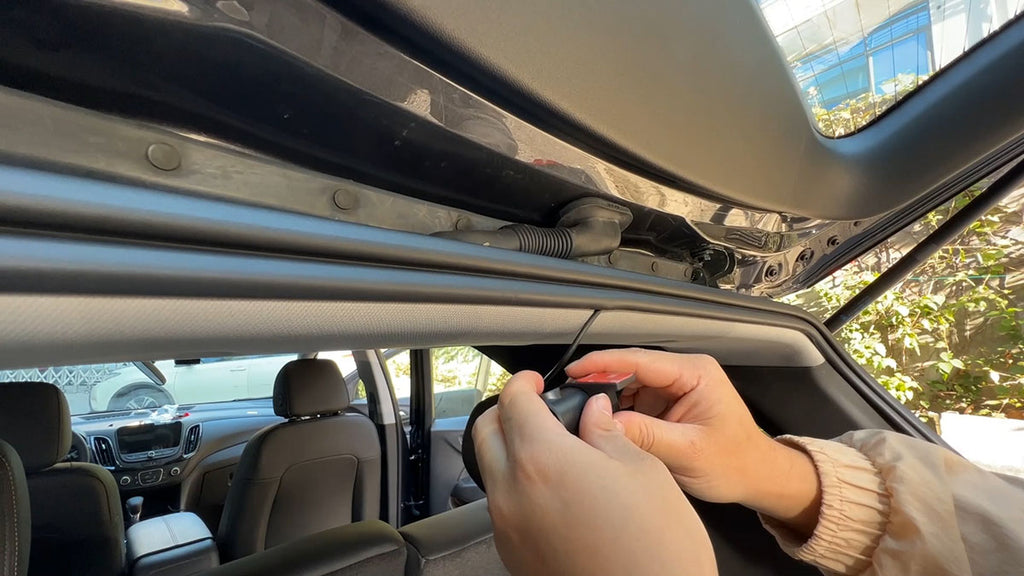
Use the rubber sealing strip along the rear door to hide the cable, routing it to the middle position of the rear door.
-
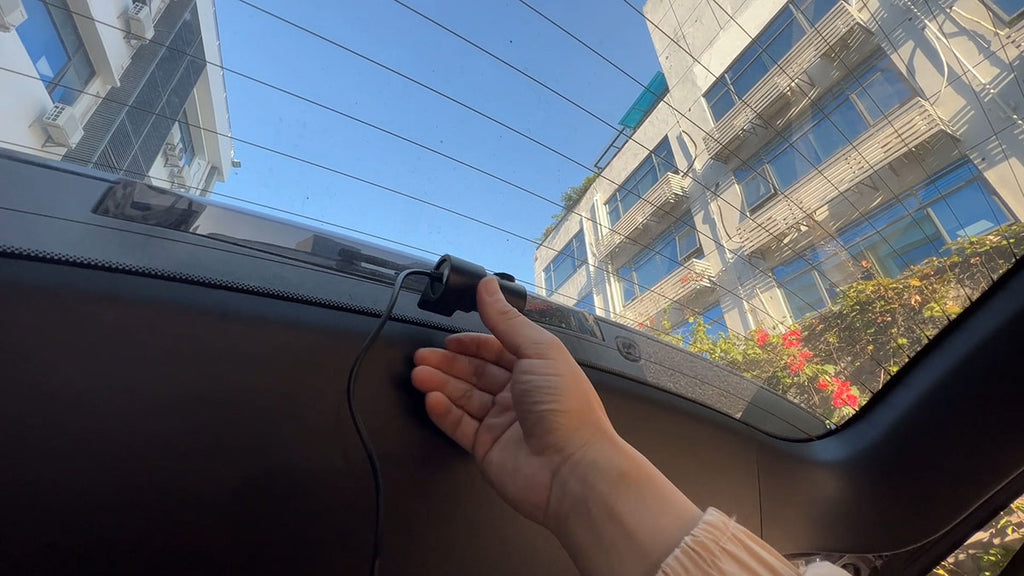
Stick the rear camera onto the rear windshield.
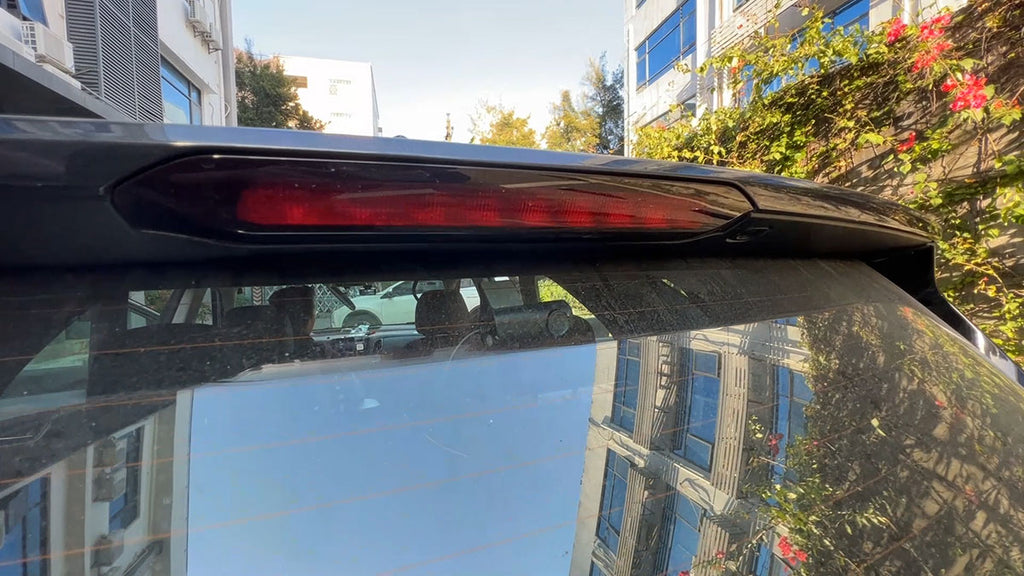
Alright, now start your car and check if the Dash Cam is working correctly. Don't forget to remove the lens protective film.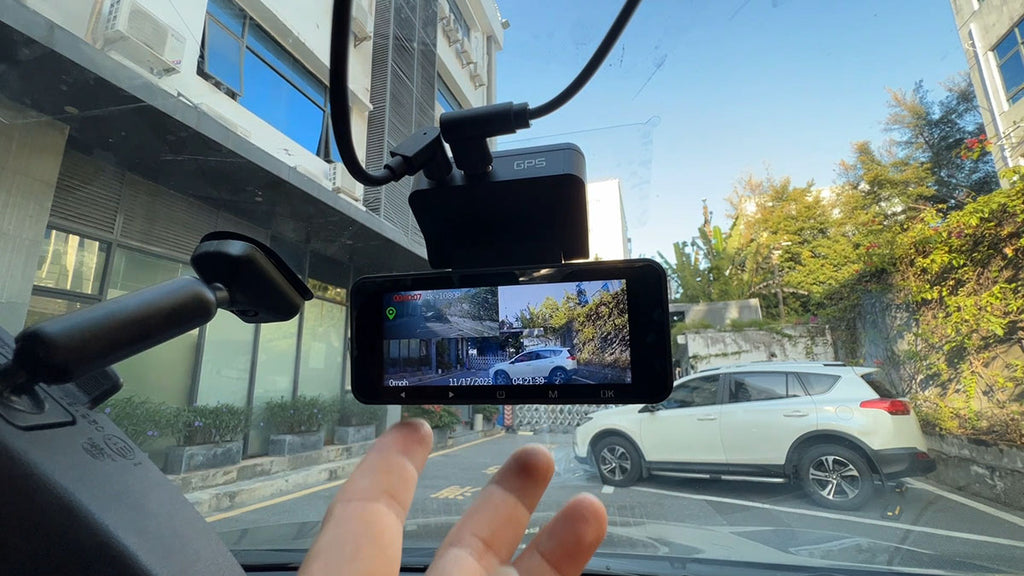
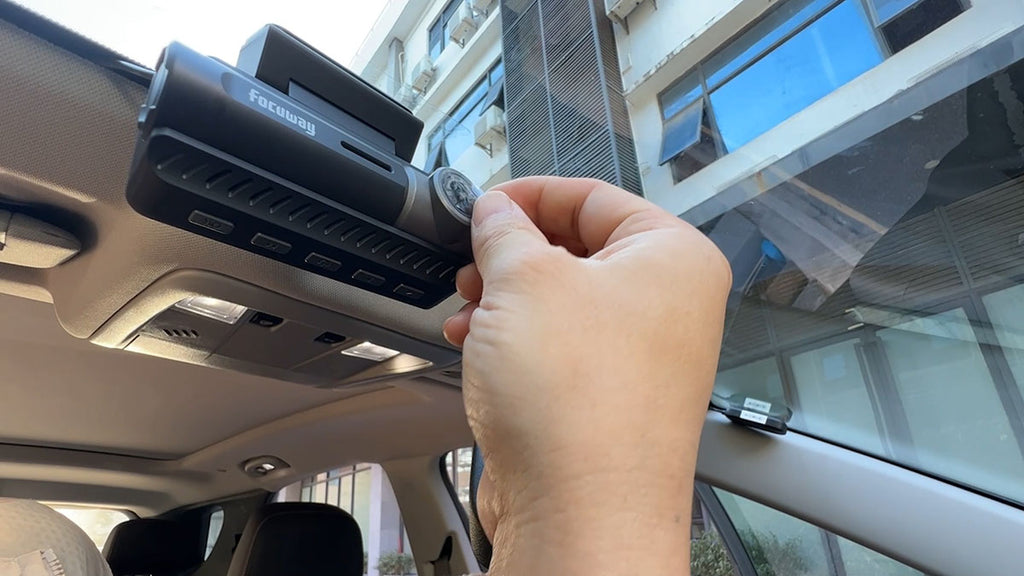
You've just saved $100 in installation fees and added a touch of creativity. Wasn't it simple? Happy DIYing!

Leave a comment